VW 027-905-205P (Bosch 0 237 521 010) Z 415 Early 16V 1.8 engines for the GLIs
VW 051-905-205B (Bosch 0 237 521 046) Z 415 Late 16V 2.0 engines for the Passat
Remove distributor cap, set engine to TDC #1 firing position
( YOU COULD OMIT THIS STEP SINCE THE DISTRIBUTOR ONLY FITS IN THE ENGINE ONE WAY)
Mark body of distributor to the engine so you can reinstall it in the same position.
Loosen the two bolts evenly, then remove the bolts and then the distributor. OIL WILL COME OUT OF THE CYLINDER HEAD so some cloths or paper towels to catch this mess is advised!
You can clean the distributor if it is really dirty and oily. Hey that is why we are doing this anyway. <g>
DISASSEMBLY:
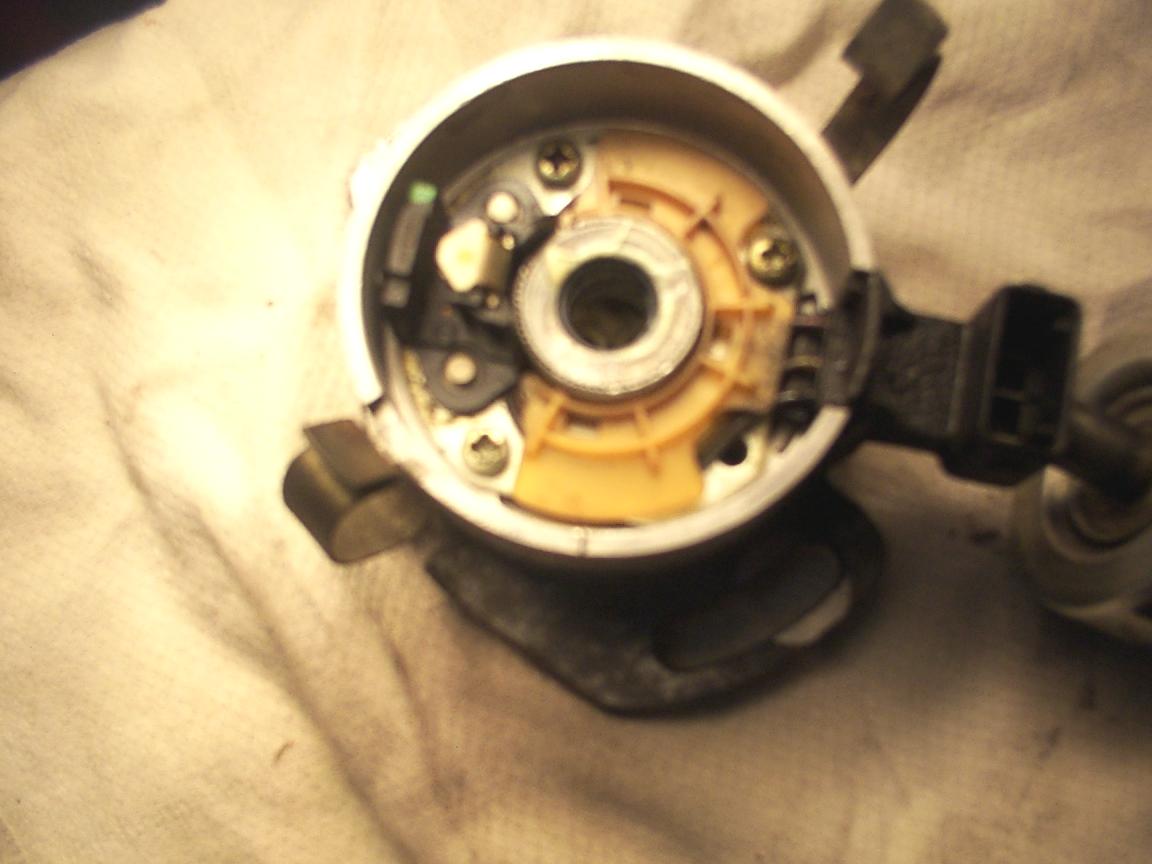
Remove spring clip going around distributor drive.
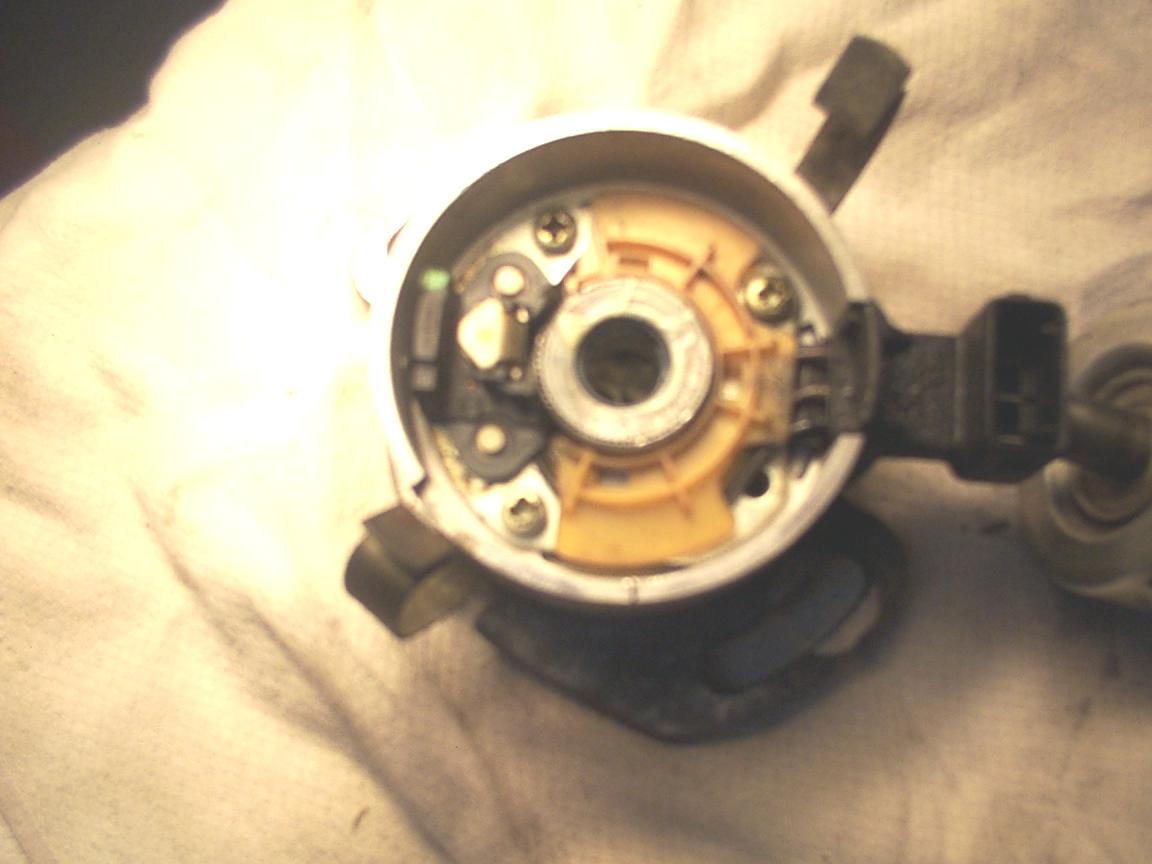
(NOTE POSITION OF NON SYMMETRICAL DRIVE IN RELATIONSHIP TO THE DISTRIBUTOR ROTOR TIP) You really don't want to have to remove that pin twice if you can help it.
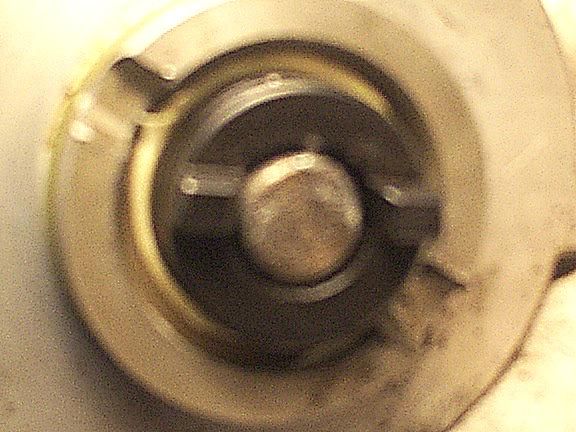 If you can see in this picture, the two tits only allow you to install
the distributor
inside of the engine onto a matching groove on the rear camshaft only
one way.
If you can see in this picture, the two tits only allow you to install
the distributor
inside of the engine onto a matching groove on the rear camshaft only
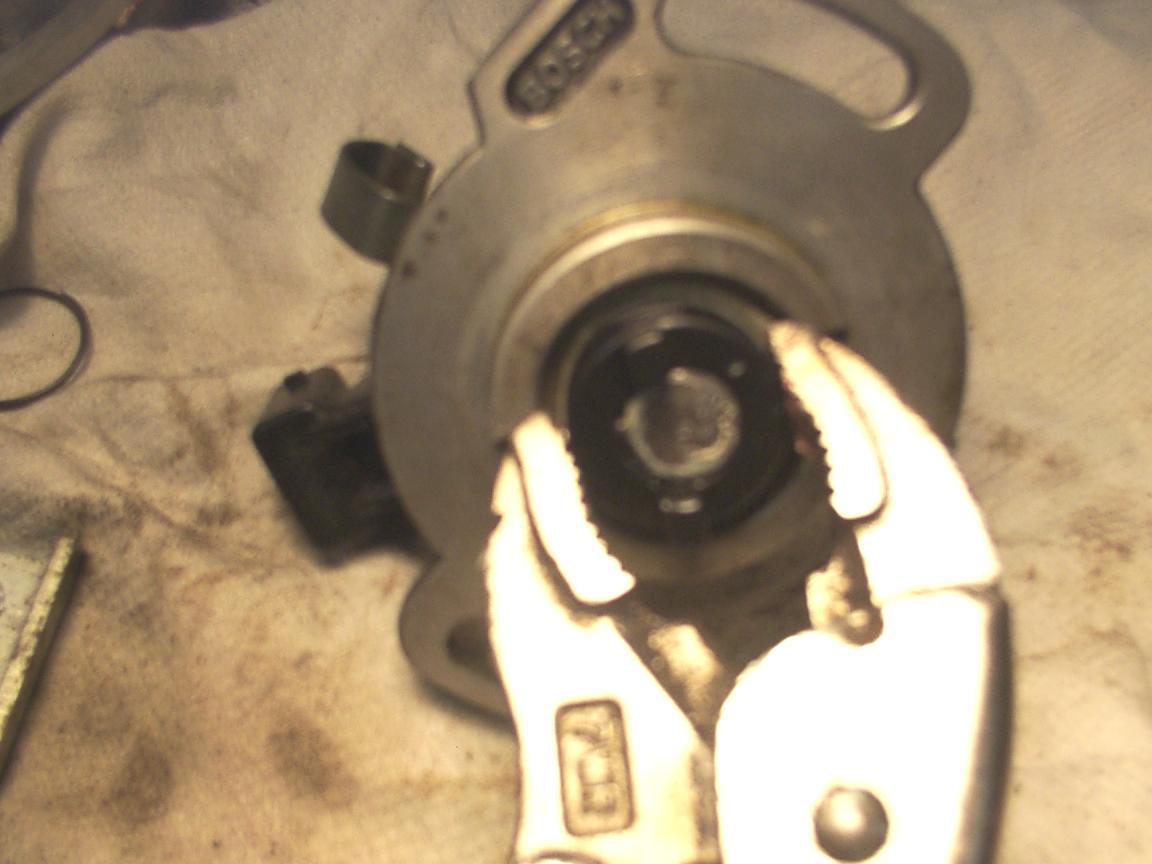
one way.Remove pin by driving it out with a punch and supporting the other end of the drive with a small socket. That socket has to be small enough to fit in the recess of the distributor body but be wide & deep enough to accept the pin.
I tapped on the pin enough to drive it somewhat out of the other side. Then I set up a breaker bar with a deep socket to hold the punch steady. Then I inverted the distributor and placed the hole over the punch and hit the socket with the hammer. It came out without any damage.
I recently built a VW Distributor Pin Support Tool (VWDP-ST01) to help with the pin removal. It is just a small angled piece of metal that has a groove cut out and a rounded out part for the distributor drive to fit on. Some spare metal and a air muffler cutter does wonders!
I supported the distributor body with some heavy foam and started the hardest part of this job.
With a hammer and a punch, use one with a smaller diameter than the pin please, you can hammer out that pin.
A better tool would have been a press set up to remove and install it but that would take too much time or effort to make right now.


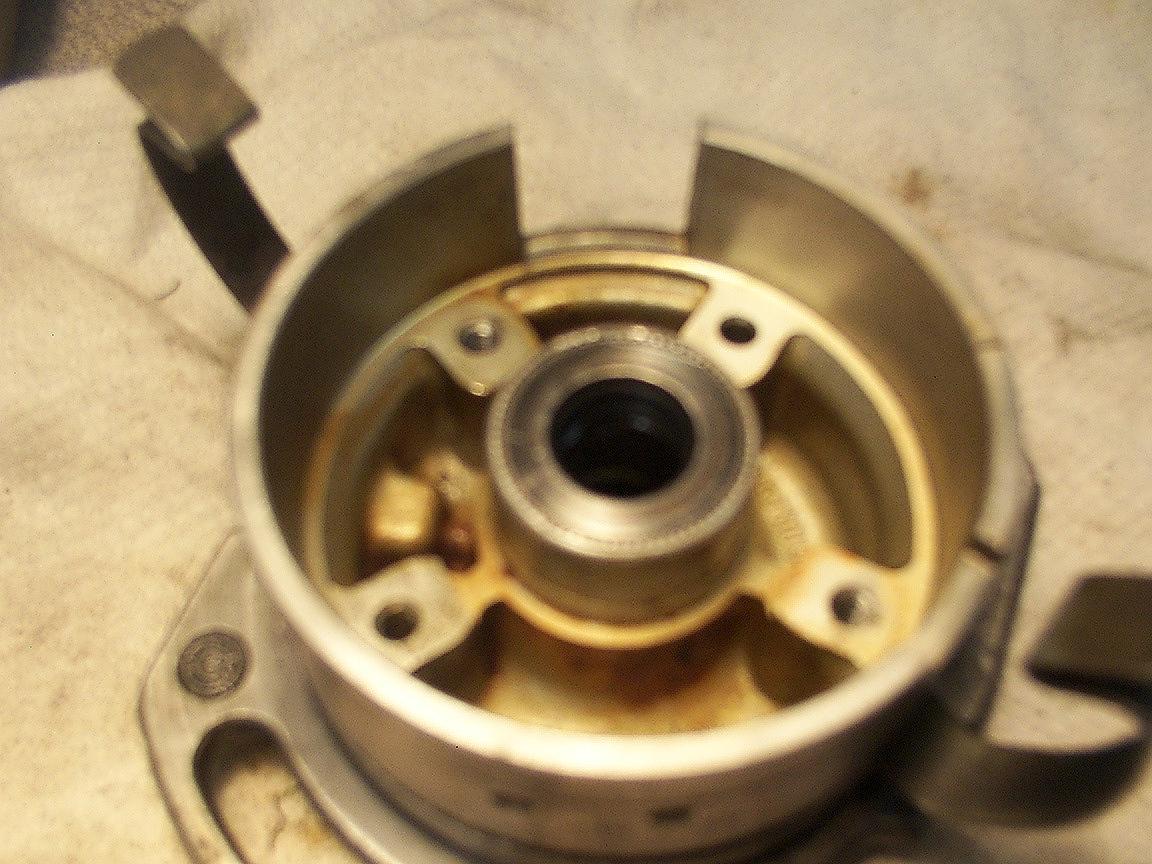
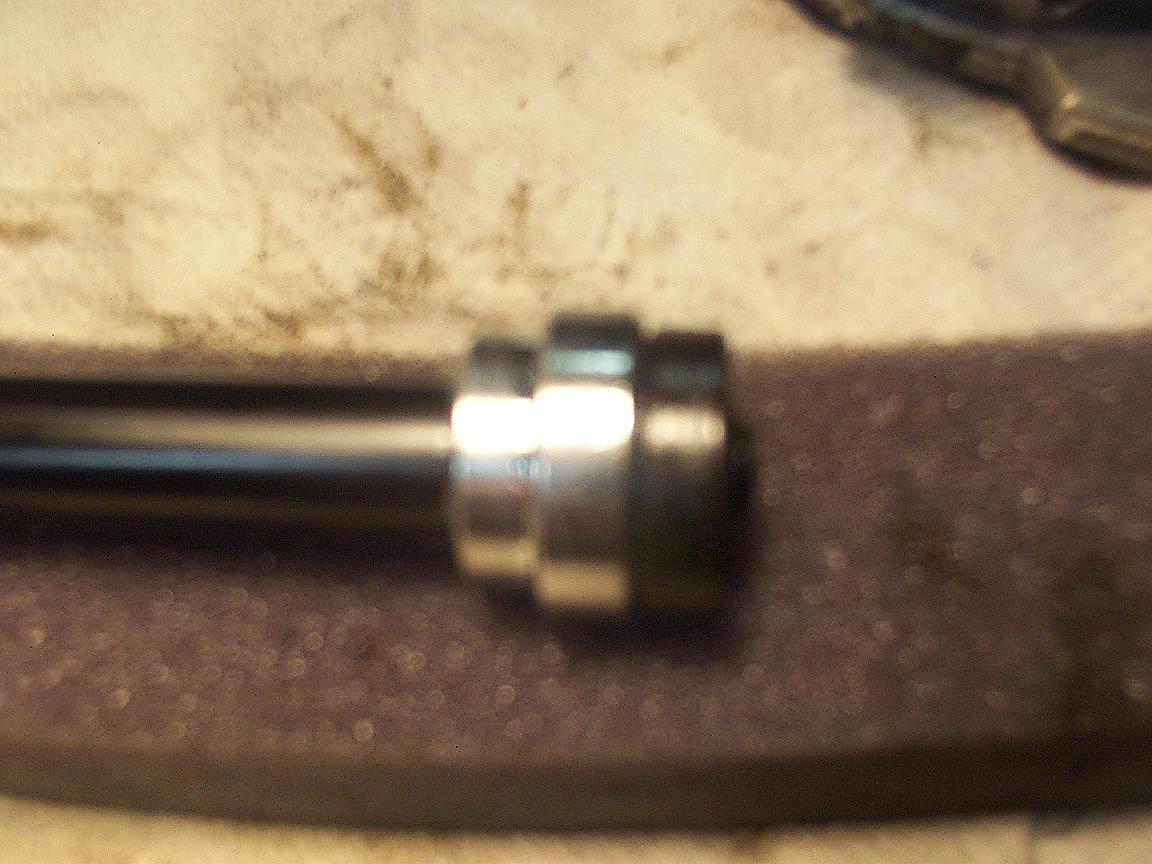
Carefully remove drive and the three lower washers noting their positions (drive, small metal washer, fiber washer, large metal washer, distributor body, seal, seal retainer/cover, washer and shaft) There are also two bushings inside of the distributor body but you probably won't need to mess with them. ;-)
Remove any burrs from the shaft BEFORE removing it through those bushings. You don't want it to damage the bushings any.
NOTE: I took apart 3 distributors and found different numbers of washers in each one.
The first picture (027 Distributor) shows the drive, metal washer, fiber washer, larger metal washer, body, seal, cover, metal washer and shaft.
The second picture (Passat 051 Distributor) shows the shaft, metal washer, fiber washer, body with seal and cover installed, large metal washer, fiber washer, metal washer and drive.
The last distributor (027 Distributor) I took apart had two extra washers near the drive and I will conclude that they are shims to reduce play.
So the first distributor that was missing the fiber washer at the cover had play, the second has none and the third I did not check it for play before I took it apart for parts.
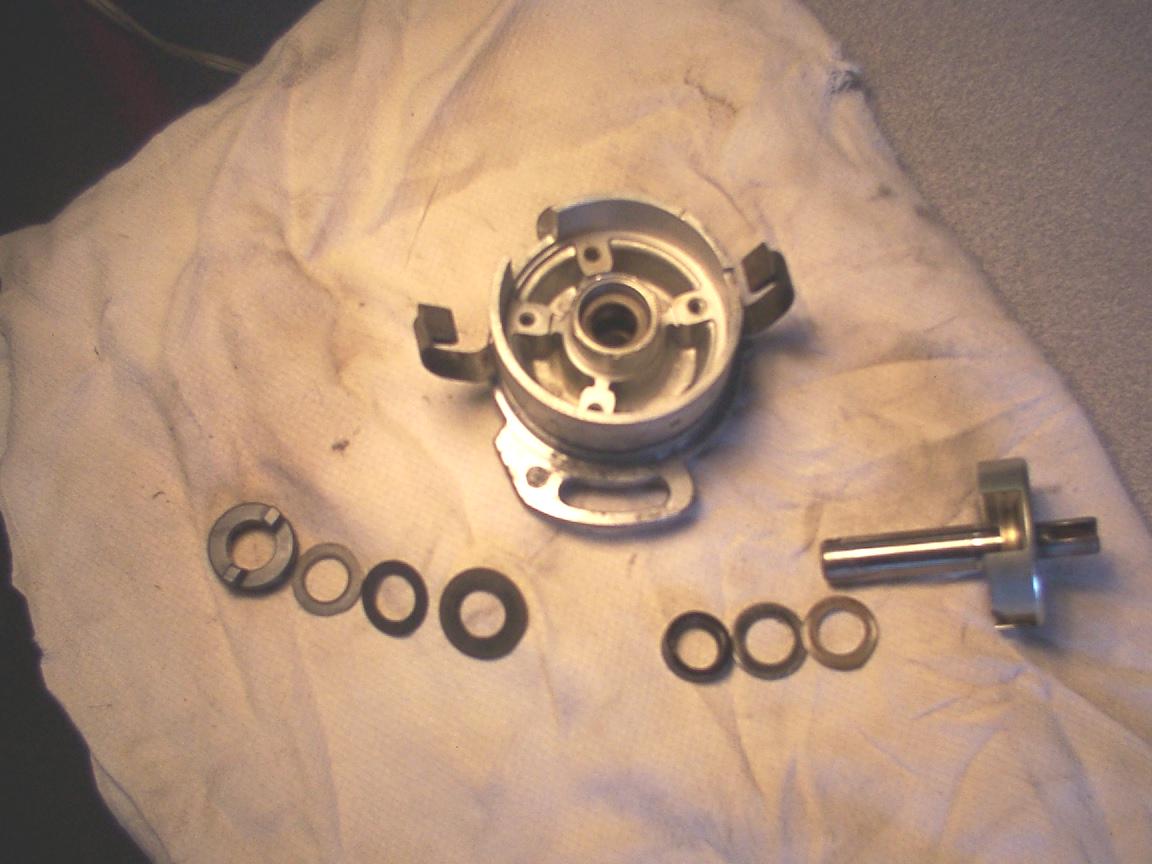

When the shaft is removed you will find another washer, or two, at the top so don't lose it/them.
Carefully, if you can, remove the metal retainer above the seal. This is locked to the body and will probably bend when you pry it off. It is soft metal so you should be able to flatten it back out after you remove it. I carefully used a small screwdriver to pry up the inside edge.
It bent evenly, became convex but popped off without too much difficulty.
Carefully remove the brittle seal without scratching the bushings or the distributor body. I pried it up with a screwdriver and it came out easily.
Now it is time to clean everything up and if you have left the Hall Sensor attached be careful what you use to clean the distributor body with.
You could easily replace the Hall Sensor since it is only held on by 3 screws but that would negate this inexpensive fix. I did notice that the wires on the Passat's Hall Sensor were thicker than on the 027 distributors. Maybe that is due to the oil that was leaking.
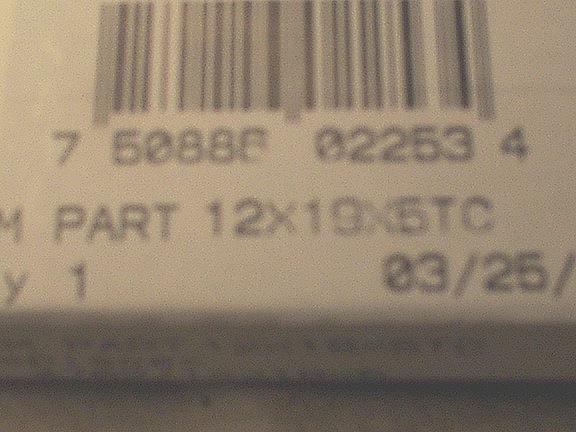
I recommend purchasing a couple of seals before you start on this project. The original seal size is metric and is 12.5 -- 19 -- 5 and rated for oil.
I have read that it is an uncommon size but I was able to find it online. The only problem was that the company wanted me to place an $80 order minimum and they would charge too much for just a few seals. I called around and found that Napa could order some 12 -- 19 -- 5 seals (Chicago Rawhide # 4207) for me plus special order fees. I kept calling and found a local place that had them in stock for a few dollars each. I picked up six seals.

INSTALLATION:
After cleaning up the distributor, install the seal. I used a Harbor Freight bushing driver to install the seal. I made sure the driver was a littler wider than the seal so it would be installed evenly and squarely. The second picture shows the seal and the driver that is a tad larger.


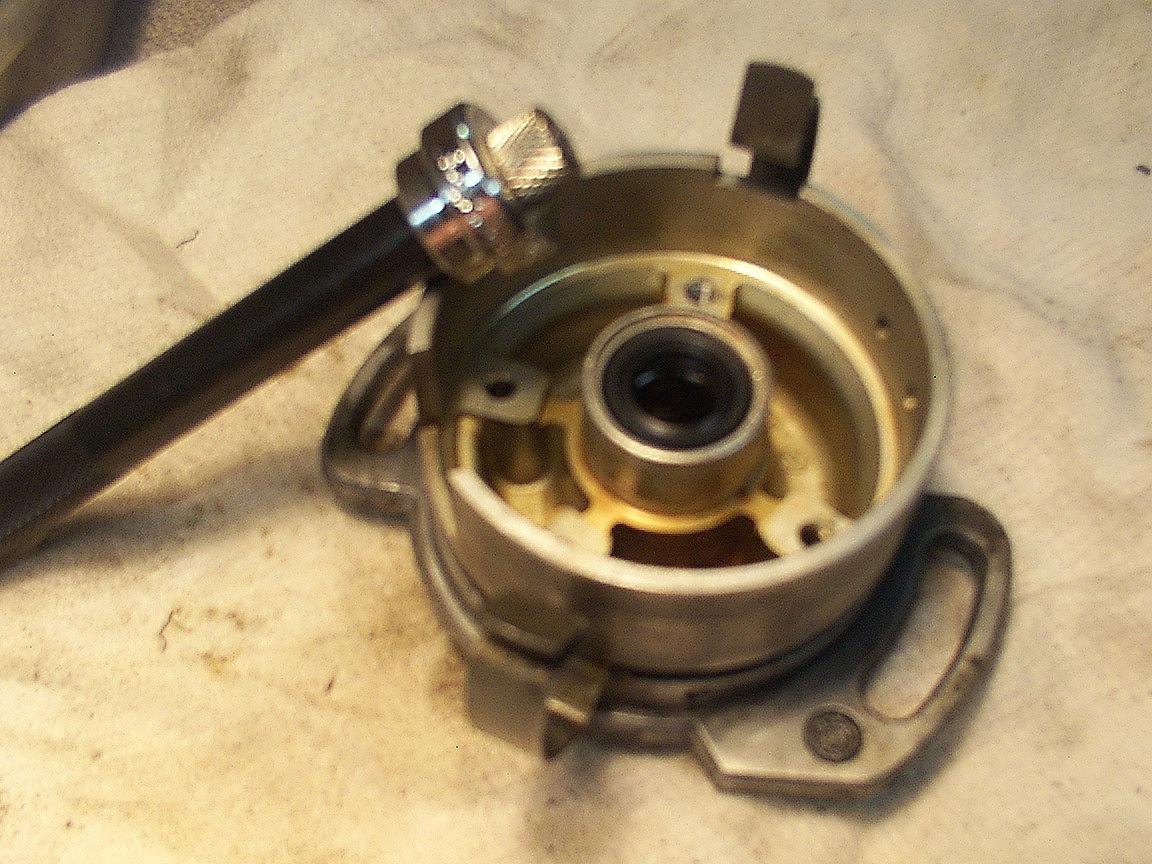
Then align the outer edge grooves with those in the distributor body and install the retainer/cover using a driver that is just a tad smaller than the cover's outer edges. Make sure that it is squarely seated and flat again which probably locks the cover to the body. I believe the bushing driver helps to restore the cover to it's flat shape.
Don't forget to reinstall the Hall Sensor if you had removed it.
MAKE SURE THAT ALL THE WIRES ARE UNDER THE PLASTIC COVER OR THEY MIGHT BE DAMAGED WHEN THE SHAFT IS REVOLVING
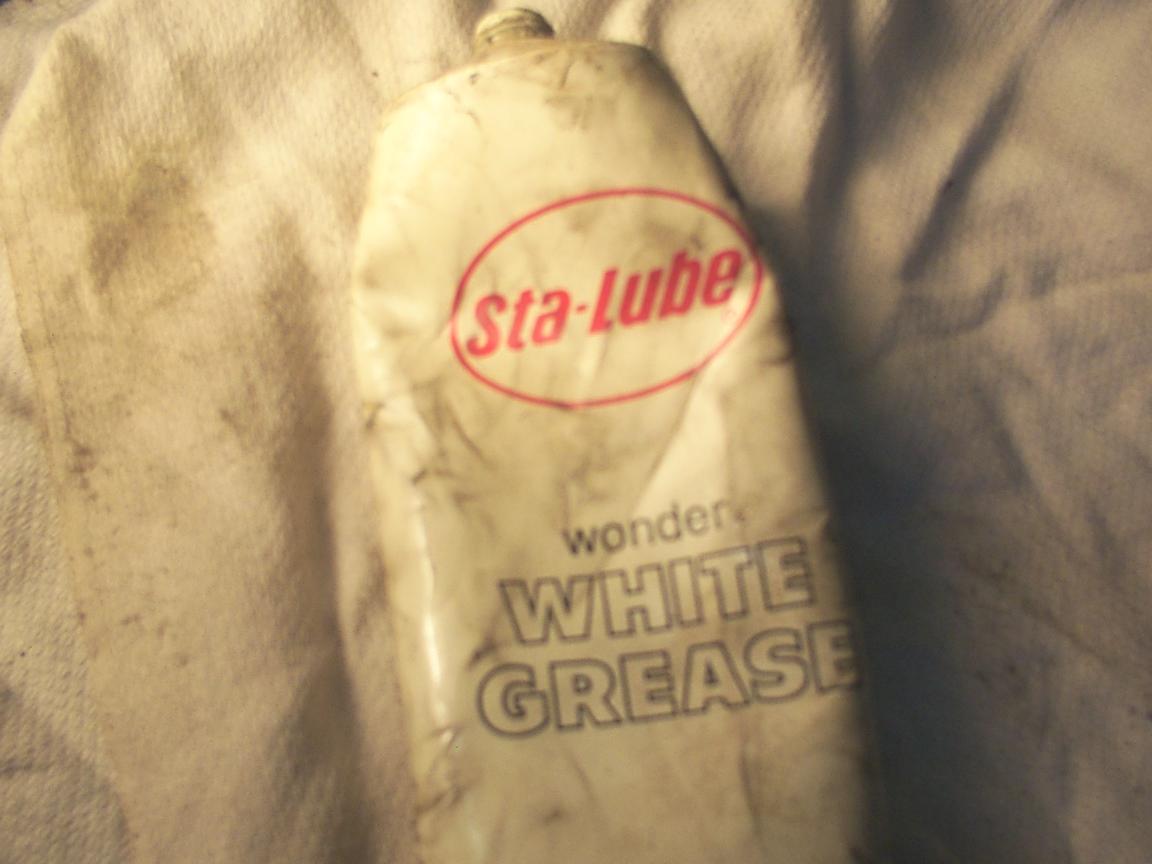
I used white lithium grease to pack the inside of the distributor and also lightly lubed the shaft and all washers. I found a broken upper fiber washer on the Passat distributor so check all washers. You can see the metal washer sitting in the crack of the fiber washer. I disassembled my third distributor for parts.
Also you will see a groove on the shaft created by the old seal. I did nothing to this groove hoping it would not create or perpetuate a problem.


Install that metal washer and fiber washer on the shaft and insert shaft into the distributor body. You will find it a little resistant due to the new smaller seal.
Make sure the shaft revolves freely and evenly but again that seal will make it slightly resistant to revolve also.
Install the lower 3 washers in the proper order and now you are ready to align the drive and insert that pin. Ah now the fun begins. ;-)
I started the pin with my fingers followed by several squeezes with some Vise Grip pliers until the pin is pushed close to the edge of the shaft. IF YOU TRY TO FINISH THE INSTALLATION OF THE PIN WITH THE PLIERS YOU MIGHT CRUSH/DESTROY THE DRIVE.
 This picture shows the drive aligned with the rotor tip.
 (An old trick is to freeze the inner piece and warm up the outer piece before attempting to reinstall) This should shrink the inner piece and enlarge the outer piece.
I then set the drive on my VWDP-ST01, body on that stiff foam, and used the punch and hammer to tap it down so it was below the surface of the drive at all times. THIS IS IMPORTANT SO THAT THE DRIVE CAN MOVE OR SLIDE TOUCHING EITHER SIDE OF THE SHAFT WITHOUT THE PIN BINDING IT
Reinstall the spring clip and you are done with the seal replacement.
Now lightly oil the outer O ring and outer surface. Install the distributor back in the cylinder head.
Lightly tighten down the bolts, install the cap, time the engine correctly and the torque the bolts down and you are done.
This whole job can be done without having to remove the distributor rotor since if the rotor is installed correctly you need to crush it to get it off the shaft and then you would require a new rotor. Which might not be a bad idea if the oil has affected the cap and rotor.
Time will tell if you fixed it to last or not. :-)
What fun huh!
I gained information from a couple of other sites.
http://www.gti16v.org/16vfaq.htm
http://www.ffp-motorsport.com/tuning/distseal.php
http://tech.bentleypublishers.com/thread.jspa?forumID=40&threadID=5832
http://users.adelphia.net/~bhaney/a2_16v_list/engine/distributor.htm
PART SOURCES:
I found 12.5-19-5 seals from a couple on online sources but one required a minimum order of $80 and was going to charge me around $12 per seal.
harwal.com
epm.com
The 12-19-5 seals can be obtained from a Napa store (Chicago Rawhide Seal #4702) for around $4.00,
http://www.chicago-rawhide.com/catalogs/457010/sealdetail.asp?s=4702
but it will probably be a special order which has some extra charges attached.
I bought mine locally in Chicago from BDI for under $3 a piece and picked them up at their warehouse in Justice, IL.
http://www.dichtomatik.us/ OIL SEAL TCM 12X19X5TC (7 50888 02253 4)
or go to http://www.dichtomatik.us/Interchange/ and enter 4702 (Chicago Rawhide Seal #)
I bought a total of 6 seals to redo 3 distributors and to have some spares just in case.
Created Nov. 20, 2004
Pictures taken with my Kodak DC-3200 digital camera. Sorry the pictures just aren't the greatest. I hopefully will correct this in the first of next year.
Web Counter